
 minipc.de
Tutorials
Microsoft Windows Home Server (Installation Tutorial)
Microsoft Windows Home Server (Installation Tutorial)
Virtuelle Installation (Part III - VMware Client)
Go to your Windows-PC and install the "VMware Server Windows client package".
Start the application and enter the hostname you choosed during installation of your Linux-PC.
User name is "root" and the password is the root-password you entered during Linux-installation time.
Now we need to prepare a virtual system, on which we later will install Windows Home Server.
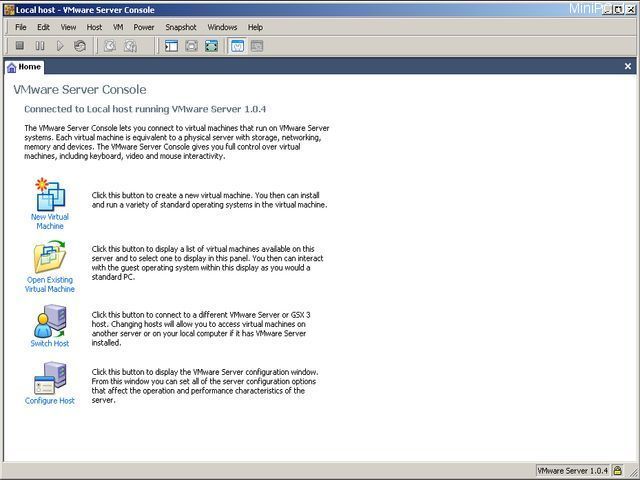
Choose "New Virtual Machine". Confirm the first screen of the dialog with "Next". Choose "Custom" and "Microsoft Windows", "Windows Server 2003 Small Business".
Enter a system name like eg. "MyHomeServer" and choose a location for the system. Eg. "/var/lib/Virtual Machines/MSHomeServer".
Leave the selection at "Make this virtual machine private".
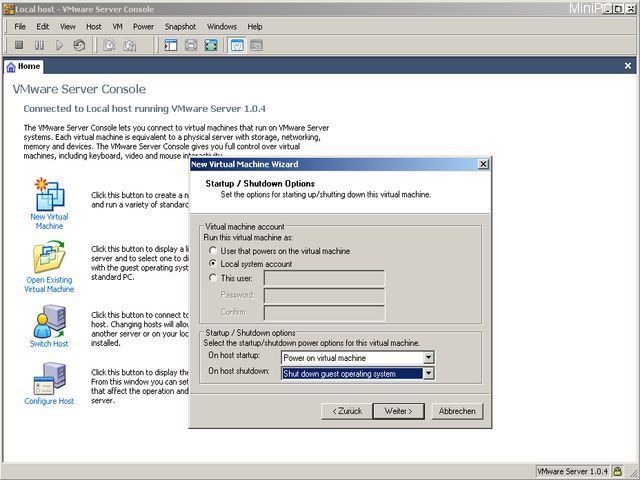
For "Run this virtual machone as :" choose "Local system account". For Startup/Shutdown options choose "Power On virtual machine" and
"Shut down guest operating system".
These settings will tell your Linux-Host-System to start and shutdown the virtual Windows-PC together with the system.
Now we have to set some more settings :
- Number of Processors : One (or two with Dual-Core, etc..)
- Memory : Min. 512 MB !
- Use network address translation (NAT)
- LSI Logic
- Create a new virtual disk : IDE, Disk size : min. 160 GB
Remove the selection at "Allocate all disk space now".
Disk file name : z.b. MyHomeServer_HDD.vmdk
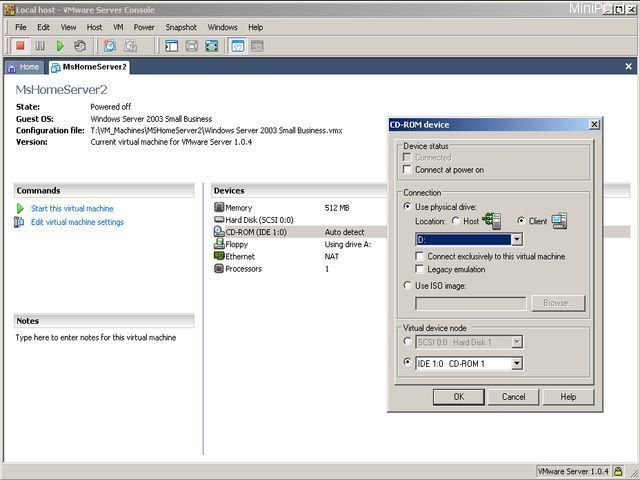
You now created a virtual PC. Now place the Windows Home Server Installations-DVD in the DVD drive of your Windows computer.
Then double-click on "CD-ROM(IDE 1:0) and choose "Use physical drive", "Client" and the corresponding drive letter.
This will enable your virtual system to access your Windows-PCs DVD drive.
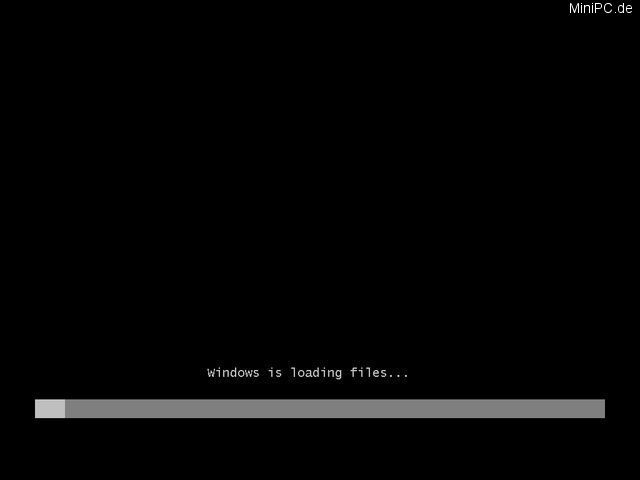
Now start the virtual system by clicking on the green play-button or by pressing CTRL+B.
Important : Double-click now fast on the CD icon which will appear in the lower right corner. Set a mark on "Connected".
The Boot-Screen of Windows Home Server will appear.
The remaining part of the installation is the same as explained already in "Standalone-Installation".
Notice : The mouse pointer might move a bit slowly during installation time. This is because the so-called "VMWare Tools" are not installed yet.
You can install them later, as soon as you have access to the Windows-desktop, through VMWare Menu buttons at the top.
Standalone Installation |
Virtuelle Installation - Part I |
Virtuelle Installation - Part II |
Virtuelle Installation - Part III |
Author : Oliver Aigner, 19.11.2007