
 minipc.de
Tutorials
Microsoft Windows Home Server (Installation Tutorial)
Microsoft Windows Home Server (Installation Tutorial)
Virtuelle Installation (Part II - VMware)
After completion of the basis installation of Debian, we now will install VMWare Server.
VMWare Server is Freeware and can be downloaded from http://www.vmware.com/download/server/
Create an account there for getting a serial number, which is needed during installation time.
Download these components :
- VMware Server Windows client package (for beeing able to access the virtual server from your WindowsPC)
- VMware Server for Linux (.tar.gz-variant)
As you need the server-installation-file on your new installed Debian-server, copy the download-link from the VMware site and
write it down.
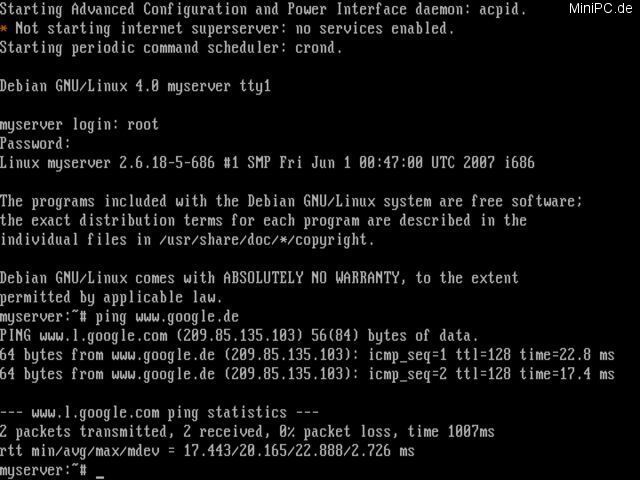
After the first reboot (after the basis installation has been completed), login with "root" and the root-password you entered during the first part
of the installation. You can test if your system has access to the internet by entering "ping www.google.de".
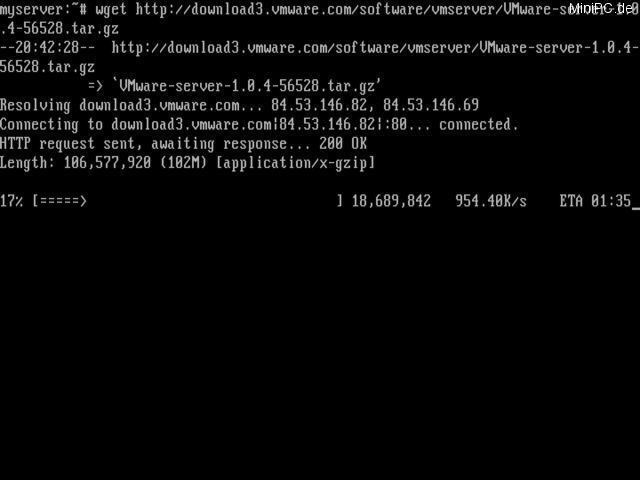
Now take the download-link you wrote down and enter (example):
wget http://download3.vmware.com/software/vmserver/VMware-server-1.0.4-56528.tar.gz
The PC now will download the file from VMWare. As the file is compressed we will have to extract its content before going ahead.
This works by entering direct commands at console level, but we will introduce a more comfortable method to do it.
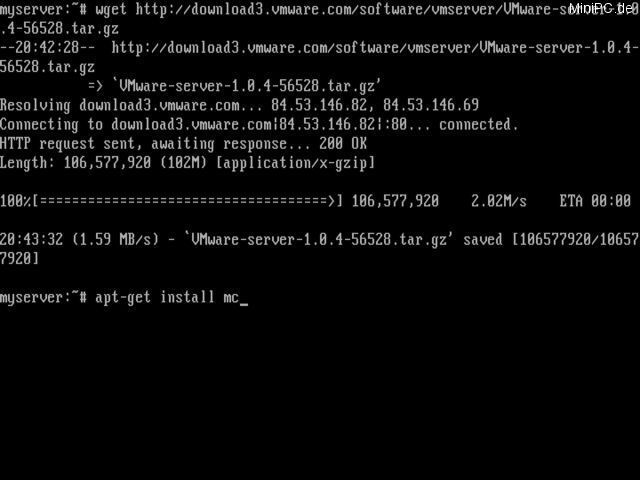
Enter : apt-get install mc
The computer now will install "Midnight Commander", a file manager for Linux.
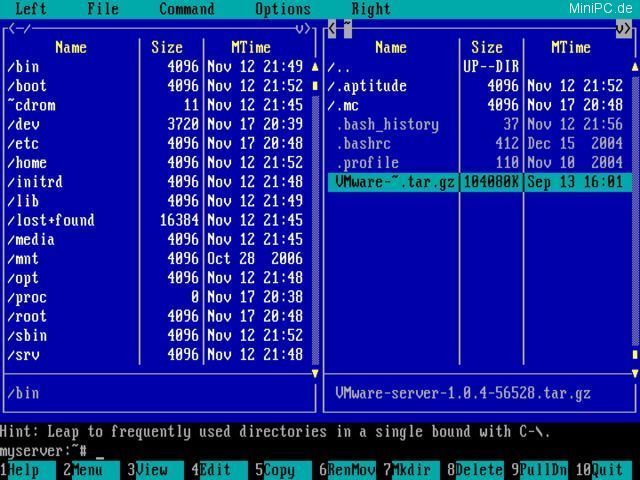
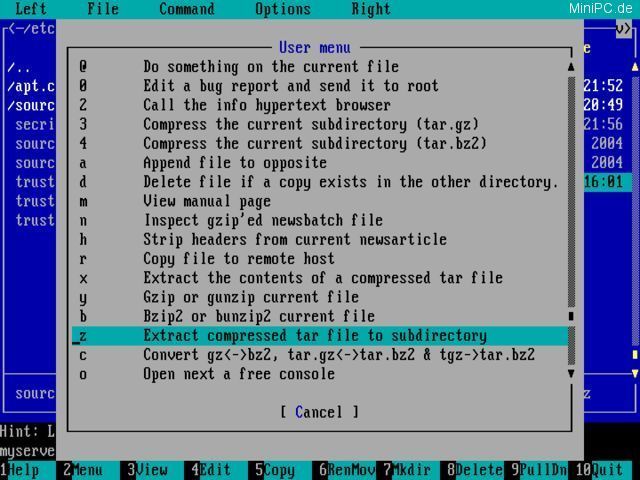
Start the commander by entering "mc". Select the downloaded VMWare installation file and press F2. Choose
"Extract compressed tar file to subdirectory" and the system will decompress the file.
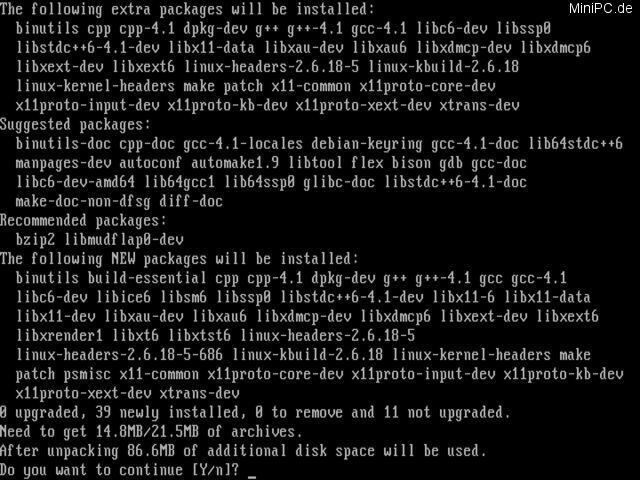

Before we can start the actual installation of VMWare Server we first need to install some additional needed programs.
Enter this :
apt-get install gcc build-essential linux-headers-`uname -r` libx11-dev libxtst6 libx11-6 psmisc libice6 libsm6 libxt6 libxrender1
Now get into the directory where you extracted the VMWare installation files (with "cd"-commands or by browsing with Midnight Commander, which you can hide out at any time by pressing CTRL+O for getting back to console level).
Enter "./vmware-install.pl" for starting installation ("./" means that Linux shall search for the file in the current directory)
In the following dialog you almost only have to confirm the suggestions the system makes with the Enter-key :
[/usr/bin]
[/etc]
[/etc/init.d]
[/usr/sbin]
[/usr/lib/vmware]
[yes]
[/usr/share/man]
[/usr/share/doc/vmware]
[yes]
[yes]
Press Space-key some times until the end of the EULA-declaration is reached. Then enter "yes"
[/usr/share/icons]
[yes]
[/usr/share/applications]
[yes]
[/usr/share/pixmaps]
[yes]
[/lib/modules/2.6.18-5-686/build-include]
[yes]
[yes]
[yes]
[no]
[no]
[902]
[/var/lib/vmware/Virtual Machines]
[yes]
Enter your serial number
Done.
Standalone Installation |
Virtuelle Installation - Part I |
Virtuelle Installation - Part II |
Virtuelle Installation - Part III |